Your browser has outdated cached files that are preventing this page from loading.
Click Clear Cache & Reload to fix this, or try a private/incognito window.
|||
Buying a Used RV
Your Ultimate Buying a Used RV Checklist for a Smooth Purchase
By Alana Azzouz25 min readSeptember 22, 2025Updated January 2, 2026
Before you even think about stepping inside a potential RV, the real work begins. A smart used RV purchase isn't about finding a shiny rig; it's about starting with a solid plan. Think of it as laying the foundation for years of happy travels on land or water. This means getting crystal clear on what you need, what you can truly afford, and which models are worth your time.
Getting this groundwork right from the start is what separates a dream purchase from a money pit.
Lay the Groundwork for a Smart Purchase
It's tempting to jump right onto a marketplace and start scrolling through listings. Don't do it. The flashiest motorhome with the gourmet kitchen isn't always the right fit. The most crucial part of this whole process happens at your kitchen table, not on a dealer's lot.
This is all about honest self-assessment. You're building a filter to sift through the thousands of used RVs out there, making sure you only spend time on the ones that are genuine contenders for your travel style and budget. Do this homework now, and you’ll protect yourself from making an emotional buy you'll later regret.
Define Your True RV Needs
First things first: how are you actually going to use this thing? The needs of a family planning to hit state parks on the weekend are worlds away from a couple gearing up for full-time life on the road.
Be brutally honest with yourself and answer these questions:
Who’s coming along? Is it just you and a partner? Or are you bringing kids, grandkids, and a golden retriever? You need to think beyond just sleeping spots—consider rainy-day living space.
Where are you headed? If you're planning to stay in RV resorts with full hookups, your needs are simple. But if you dream of boondocking in the desert, you'll need to think seriously about bigger water tanks, solar panels, and a reliable generator.
What's your travel rhythm? Do you like to plant yourself in one spot for a week at a time, or are you the type who likes to move every day or two? A complicated setup can get old fast if you're constantly on the move.
Answering these questions will naturally point you toward the right class of RV. That massive Class A diesel pusher might seem like the ultimate luxury, but good luck fitting it into a tight spot at a national park. On the flip side, a tiny travel trailer is a breeze to tow, but it can feel like a closet during a three-day downpour.
Establish a Realistic All-In Budget
Your budget is so much more than the number on the windshield. This is where so many first-time buyers get tripped up. They fixate on the sticker price and completely forget about all the other costs that come rushing in after the handshake. A smart budget covers the total cost of ownership.
The biggest mistake I see is people spending their entire budget on the RV itself. You absolutely must hold back 10-15% of your total funds for the inevitable costs that pop up right after you buy. Trust me, they always do.
Here’s a quick look at what your "all-in" budget should really cover.
Your Used RV True Cost Calculator A quick reference guide to help you calculate the total cost of ownership beyond the sticker price.
Expense Category
What It Covers
Estimated Cost / Action
Purchase Price
The agreed-upon price for the RV itself.
The main number you negotiate.
Taxes, Title & Registration
State and local fees to make it legally yours.
Varies by state; check your local DMV website for an estimate.
Insurance
Your policy to protect your new investment.
Get multiple quotes before you buy; rates vary wildly.
Initial Repairs & Maintenance
The "must-do" items for any used vehicle.
Assume you'll need tires, batteries, or roof sealant touch-ups.
Essential Gear & Outfitting
All the stuff you need to actually go camping.
Hoses, power cords, leveling blocks, wheel chocks, etc.
Thinking through these costs upfront prevents that "great deal" from quickly becoming a source of financial stress.
Research Models and Uncover Common Issues
Now that you know your needs and have a real-world budget, you can finally start the fun part: researching specific makes and models. This is your chance to learn from the experiences (and mistakes) of thousands of other owners.
The used market is hot right now. Even though new RV sales have slowed down, private sales of used RVs have surged 111% year-over-year. As you can read in this analysis of current RV sales trends from Bish's RV, there are a lot of buyers out there, which makes doing your homework even more important.
Dive into online forums, join owner groups on Facebook, and read every review you can find. You’ll start to see patterns. For instance, you might discover that a certain brand had notorious roof leak problems in their mid-2010s models, or that another manufacturer’s slide-out motors are prone to failure.
Armed with this insider knowledge, your inspection goes from a casual walkthrough to a targeted investigation. You'll know exactly what to look for, and you might just save yourself from a nightmare of expensive, post-purchase surprises.
An RV's exterior tells a story. It’s a roadmap of every adventure, every mile traveled, and—most importantly—how well its previous owner actually took care of it. This isn't just a quick walk-around; it’s a hands-on investigation. You need to get up close, run your hands over the surfaces, and look for the subtle clues that separate a well-maintained rig from a money pit.
The used market is flooded right now, which is both a blessing and a curse. As of April 30, 2025, there were a staggering 71,543 used RVs listed for sale. That's a massive 25.5% jump from the previous year. This flood of inventory, mostly from pandemic-era buyers getting out of the lifestyle, means it's a buyer's market. But it also means more potential disasters are out there. A thorough exterior check is your best defense. If you want to dive deeper into these market trends, the full RV news report from JohnMarucci.com has some great insights.
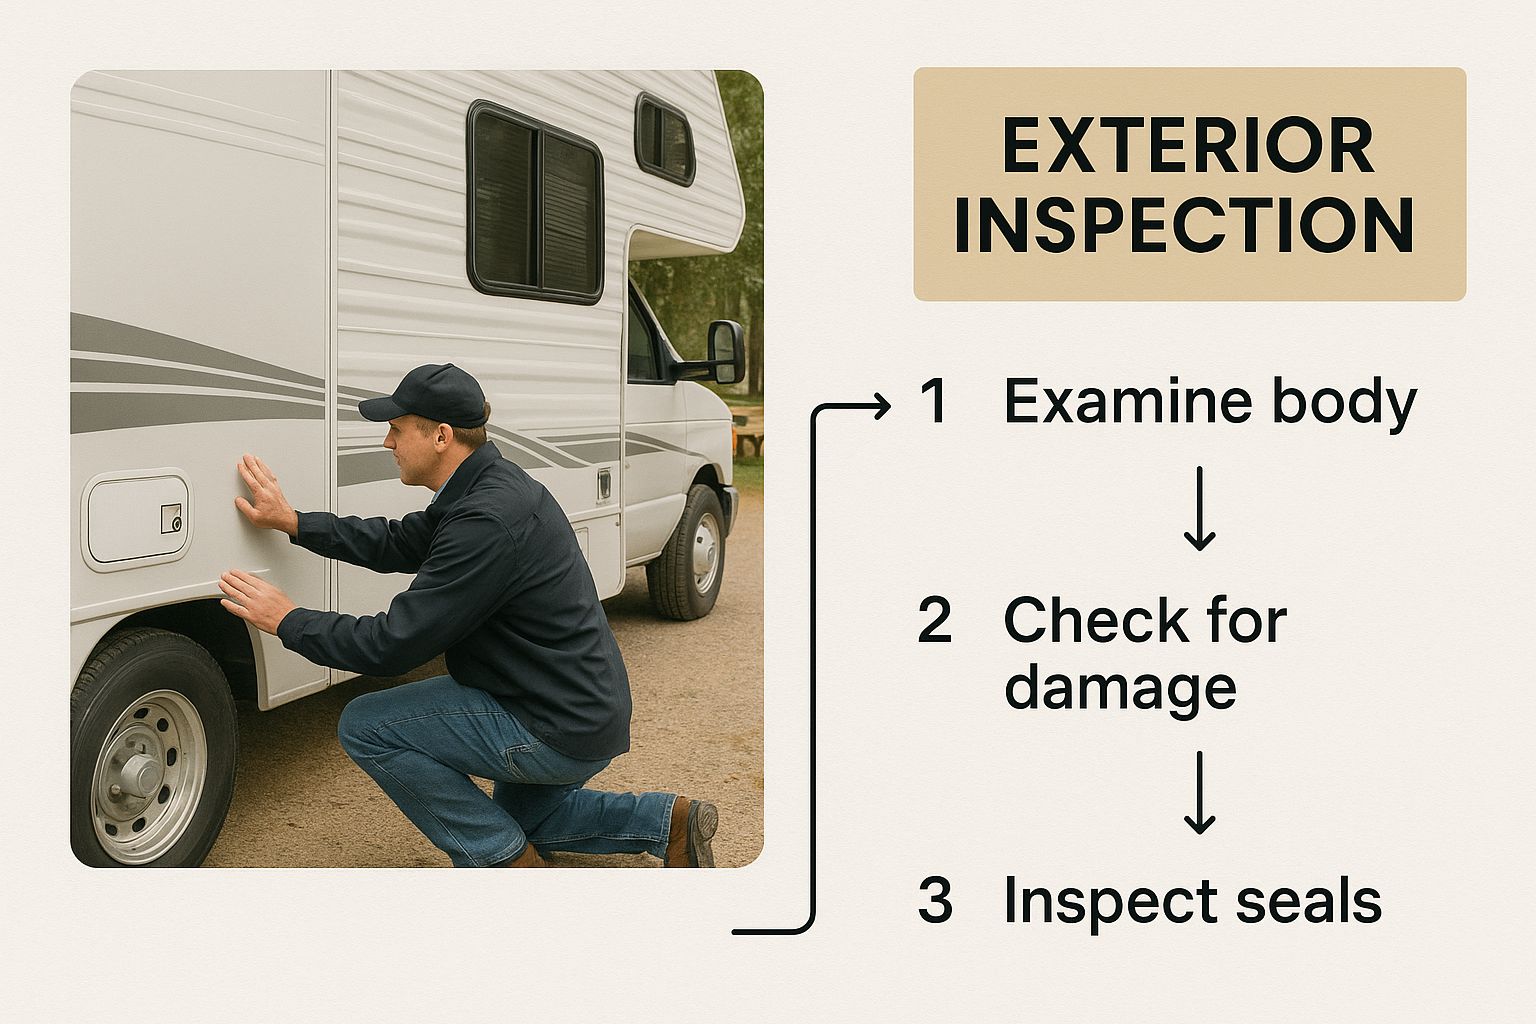
This graphic breaks down the key areas to hit when you're sizing up the outside of a potential RV.
Think of it as a top-down battle plan. Start at the roof and work your way down to make sure you don't miss a single critical detail.
Start at the Top: The Roof and Seals
Always start with the roof. It’s the RV’s first line of defense against the elements and, believe me, it's where the most catastrophic (and expensive) water damage begins. Don't just peek up from the ground. Get a ladder and, if you feel safe, get up there and walk on it.
Here’s what you’re hunting for:
Soft Spots: As you walk, gently press down with your feet. Any section that feels spongy or gives way is a huge red flag. That’s a tell-tale sign of water intrusion and rot in the structure underneath.
Sealant Condition: Get on your hands and knees and look at the sealant around every vent, skylight, and seam. Is it cracked, peeling, or pulling away? Good sealant should be pliable and intact, not dry and brittle like old caulk.
Physical Damage: Look for any punctures, tears in the roof membrane, or deep gashes from low-hanging tree branches. It’s shocking how much water can get in through one tiny hole.
A neglected roof is a deal-breaker for me. If the sealant looks like it hasn’t been touched in years, you can bet there are other hidden maintenance problems just waiting to be found.
Work Your Way Down: Sidewalls and Windows
After you've cleared the roof, move down to the sidewalls. The big enemy here is delamination. This is what happens when the outer fiberglass skin separates from the wood substrate, almost always because water got in.
Look for ripples, waves, or actual bubbles in the fiberglass. Run your hand flat along the side of the rig—delamination often feels like a hollow or soft spot. Pay extra close attention to the areas directly under windows and along corner seams, as these are the usual suspects for water entry.
Next, open and close every single window and door. Do they operate smoothly? Do they lock securely? Check the window seals for any signs of shrinking or cracking, which is just another open invitation for leaks.
The Foundation: Tires, Chassis, and Awnings
Time to get down and dirty. The tires and chassis are what keep you safely on the road, so don't skim over this part.
When you check the tires, ignore the tread depth for a moment. The most important thing is the DOT date code, a four-digit number stamped right on the sidewall. The first two digits are the week of the year, and the last two are the year it was made. So, "2821" means the tire was made in the 28th week of 2021. RV tires need to be replaced every 5-7 years, no matter how good they look. The rubber simply breaks down over time.
I once had a seller tell me the tires were "practically new" because the tread was deep. A quick look at the date code showed they were nine years old and dangerously past their expiration date. Never take someone's word for it. Always check the code yourself.
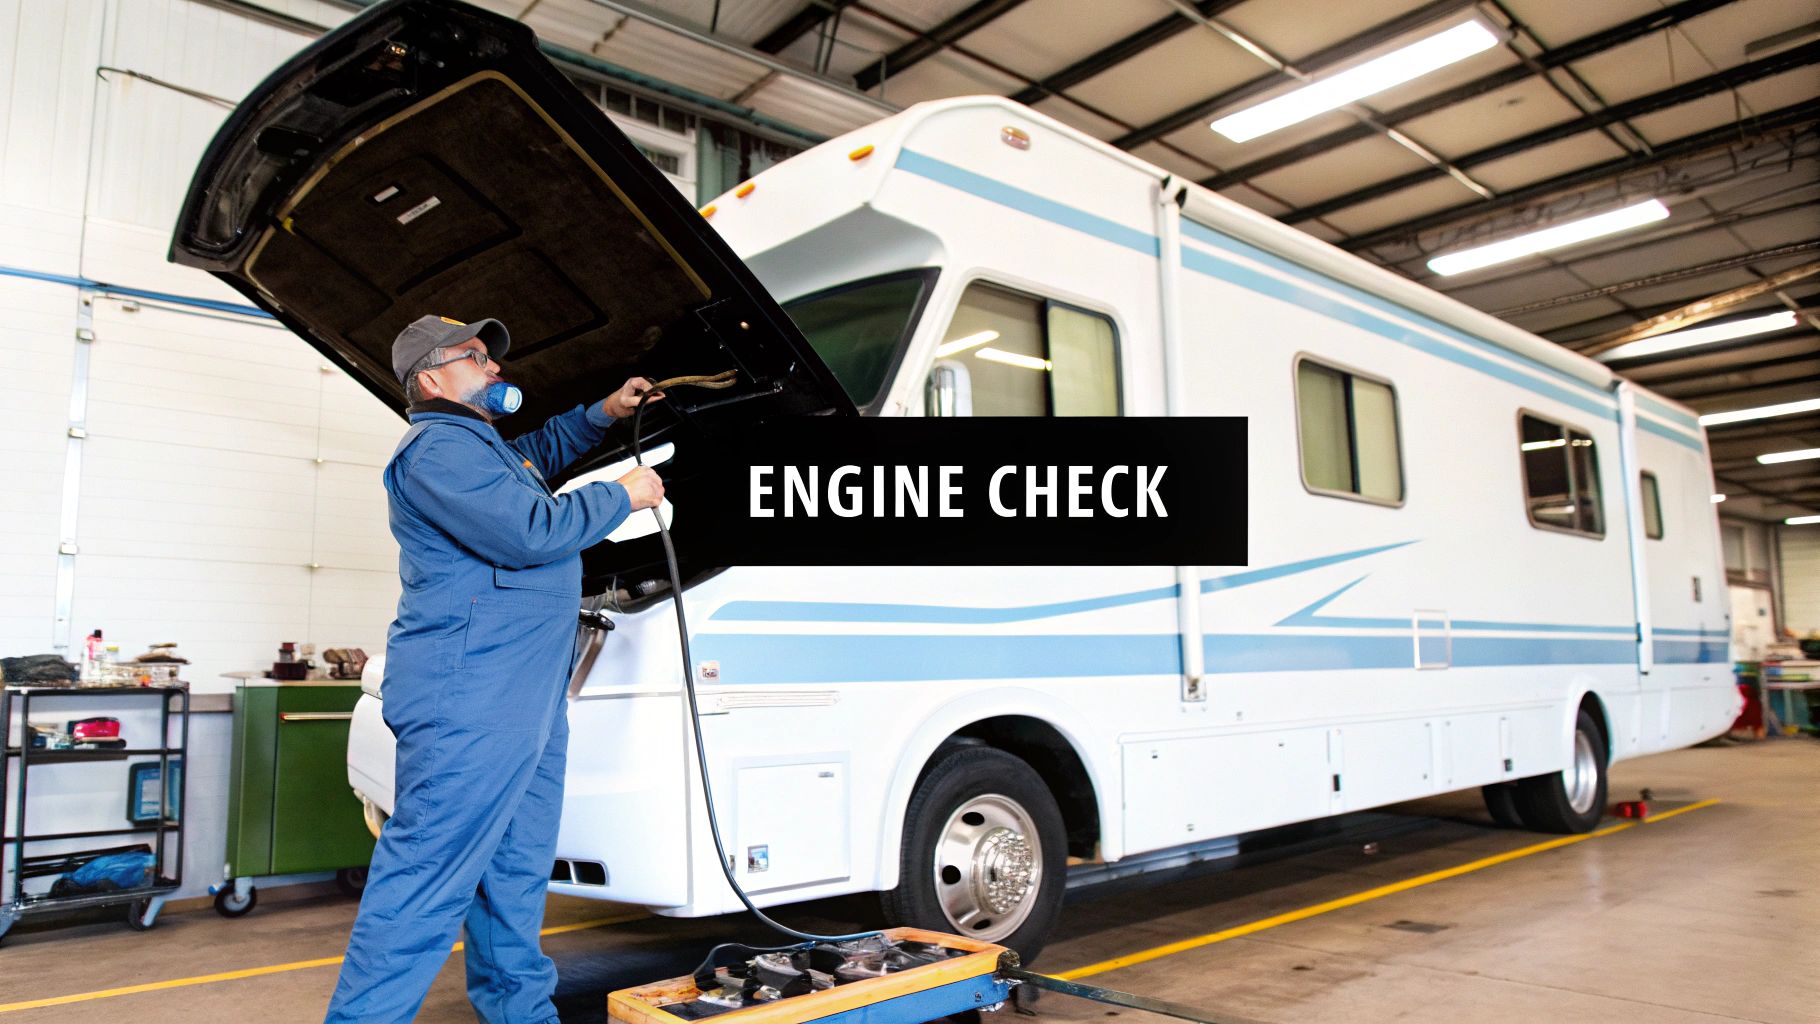
While you're down there, look under the rig. Check the frame for excessive rust, look at the suspension components, and on a motorhome, scan for any drips or leaks from the engine or transmission.
Finally, test everything else. Extend and retract every slide-out and awning. Listen for any groaning or jerky movements. Flip on all the exterior lights. Inspect the shore power cord and water hookups for wear and tear. A meticulous exterior inspection isn't optional—it's the only way to make a smart used RV purchase.
Mastering the Interior and Systems Check
Once you’ve given the exterior a thorough once-over, it’s time to head inside. This is where you’ll be living, after all, but it’s also where some of the most complex—and expensive—problems love to hide. A pristine-looking exterior can easily mask a nightmare of old leaks, failing appliances, or a sketchy electrical system.
This part of your inspection calls for a hands-on, methodical approach. You’re not just looking at finishes; you're playing detective, hunting for clues that tell the RV's real story. Don't be timid. Open every cabinet, press on the floors, flip every single switch, and test everything that's supposed to turn on, heat up, or cool down.
The Hunt for Hidden Water Damage
Water is, without a doubt, the number one enemy of any recreational vehicle, from a pop-up camper to a cabin cruiser. It can silently rot the structure from the inside out, leading to repairs that can easily run into the thousands. Your absolute top priority inside is to sniff out any evidence of past or present water intrusion.
Here’s how to become a water-damage detective:
Trust Your Nose: The moment you step in, take a good, deep breath. A musty, damp smell is a massive red flag. That odor is the classic sign of mold or mildew, even if you can’t see a single spot.
Look High and Low: Scan the entire ceiling and all the walls. Pay extra close attention to corners and the areas around every vent, skylight, and window. You're looking for faint water stains, any discoloration, or wallpaper that’s starting to bubble or peel.
Feel for Soft Spots: Firmly press on the floor, especially in high-traffic areas like in front of the door, under the kitchen and bathroom sinks, and around the corners of slide-outs. Any spot that feels soft, spongy, or bouncy means the subfloor is likely compromised. Give the walls around windows a firm press, too.
A small, faint water stain on the ceiling might seem like an old, fixed issue. But in my experience, it often points to a recurring leak that was only superficially repaired. Never dismiss a water stain without a deeper investigation.
Finding even a hint of water damage should put you on high alert. It’s often just the tip of the iceberg, hinting at much bigger problems lurking behind the walls.
A Systematic Appliance and Systems Test
Next up, you have to verify that every single system and appliance works exactly as it should. Never just take the seller's word for it. You need to test everything yourself. Replacing a major component like an RV fridge or an air conditioner can be a budget-busting surprise.
The best way to tackle this is to work through the RV’s systems one by one. This ensures you don't miss something critical.
Testing the Kitchen and Comfort Systems
Let’s start in the heart of the RV’s living space. Appliances, especially in older rigs, are common failure points.
Refrigerator/Freezer: This is a big one. Ask the seller to have it turned on and running before you arrive. You absolutely must test it on both LP gas and electric power. It should get properly cold on both. A new RV fridge can cost over $2,000, so confirming this is a non-negotiable step.
HVAC Systems: Fire up the air conditioner and let it run for a solid 15 minutes. Is the air coming out consistently cold? Now, switch over to the furnace. Listen for it to ignite cleanly and then walk through the RV to feel for warm air coming out of all the vents.
Water Heater: Test the water heater on both gas and electric. Turn on a hot water tap and wait for it to heat up. While it’s running, listen for any strange noises coming from the unit itself.
Stove and Oven: Light every single burner on the stovetop. You’re looking for a strong, steady blue flame. If there’s an oven, test the pilot light to make sure it lights and, more importantly, stays lit.
Checking Electrical and Plumbing Integrity
Problems with the electrical and plumbing systems can be anything from a small annoyance to a major safety hazard. This check needs to be meticulous.
A great tip is to bring a small, inexpensive outlet tester or even just your phone charger to check that every electrical outlet has power. Flip every single light switch. If the RV is plugged into shore power, make sure the converter is humming along and properly charging the house batteries.
For the plumbing, turn on the water pump and run water at every faucet and in the shower. While the water is running, open the cabinets below and look for any drips or leaks. Flush the toilet a few times to see that it holds water in the bowl and functions correctly. This complete systems check is a core part of any comprehensive buying a used rv checklist and can save you from a world of headaches later on.
Before you wrap up your systems check, it's incredibly helpful to run through a quick, organized list. This ensures you don't forget something in the moment.
RV System Functionality Test
System to Test
How to Test It
Pass/Fail
Refrigerator
Confirm it gets cold on both electric and LP gas settings.
Air Conditioner
Run for 15+ minutes; check for consistent cold air from all vents.
Furnace
Ignite and run; confirm warm air is distributed to all vents.
Water Heater
Test on both electric and gas; confirm hot water at faucets.
Stovetop/Oven
Light all burners (look for blue flame). Test oven pilot and ignition.
Microwave
Heat a cup of water to ensure it's working.
Water Pump
Turn on and run water at a sink; listen for steady operation.
All Faucets/Shower
Check for good pressure and look for leaks underneath while running.
Toilet
Flush multiple times; confirm it holds water in the bowl.
Electrical Outlets
Use an outlet tester or phone charger on every single outlet.
Interior/Exterior Lights
Flip every light switch to ensure all bulbs work.
Slide-Outs
Extend and retract all slides; listen for smooth, even operation.
Leveling System
If equipped, deploy and retract all jacks.
Propane System
Check for the smell of gas near tanks and appliances (use a detector if possible).
Using a simple checklist like this helps you stay focused and guarantees that no critical component gets overlooked during your inspection.
It's Time to Talk Numbers: Negotiating and Finalizing the Deal
You've done it. You’ve gone through the inspections, kicked the tires (literally), and found an RV that feels right. But finding the perfect rig is only half the battle—now you have to make it yours without overpaying.
This is where your research and diligence really pay off. A smart negotiation isn’t about winning an argument; it's about making a fair, informed offer and navigating the final paperwork with confidence. A calm head here will save you thousands and prevent legal headaches later on.
Building Your Case for a Great Price
The best negotiation tactic isn't being aggressive; it's being prepared. All those notes you took during the inspection? They're now your most valuable asset. This is where you turn potential problems into bargaining power.
Start by making an itemized list of every single issue you found, from the big to the small. Then, do a little homework and put a realistic repair cost next to each one. For example, a set of tires nearing their expiration date is a significant, non-negotiable expense that could easily run $1,500 - $3,000. A torn awning is less critical but still a few hundred dollars to fix.
When you present your offer, lay out these facts calmly. Instead of saying, "The roof is in bad shape," you can say, "I noticed the sealant around the skylight is cracked, which is a major leak risk. My research shows a professional reseal costs about $300." This data-driven approach keeps the conversation productive and focused on the RV's actual value.
Ground Your Offer in Reality, Not Hope
Walking into a negotiation without knowing the market is like flying blind. A solid offer is based on data, not just what you feel the RV is worth. This step ensures you don’t lowball and offend the seller, but more importantly, it stops you from overpaying.
Here are the tools you’ll need to figure out a fair price:
NADA Guides: This is the industry bible for vehicle values. Look up the RV’s specific year, make, and model to get a clear picture of its wholesale and retail worth.
Real-World Comps: Scour marketplaces like RV Trader and even Facebook for similar models. See what they're listed for, but also pay attention to how long they’ve been sitting on the market. A rig that's been for sale for three months is likely overpriced.
Market Pulse: The RV market has its own seasons. For instance, wholesale auction data in early 2025 showed the average motorhome sold for $63,540, which was a noticeable jump from the year before. Knowing these RV market fluctuations and what they mean for buyers helps you understand if an asking price is truly fair or just inflated by current demand. Your buying a used RV checklist should include a line item for this market reality check.
Before you even speak to the seller, decide on your absolute maximum price—your "walk-away" number. This is your most important boundary. It prevents you from getting swept up in the moment and making an emotional decision you'll regret.
The Final Step: Don't Mess Up the Paperwork
You've agreed on a price—congratulations! Now comes the most important administrative task of the whole process. Don't rush this part. A small mistake here can turn into a giant problem down the road.
First things first, verify the title. You need to see the actual, physical document, not a copy.
Check that the Vehicle Identification Number (VIN) on the title is an exact match to the VIN on the RV. You can usually find the VIN on a plate near the driver's side door or on the chassis frame.
Make sure the seller’s name is the one on the title.
Look for a lienholder. If a bank is listed, that loan must be fully paid off and the lien released before the owner can legally sell it to you.
Next, you need a Bill of Sale. This is your official receipt and proof of the transaction. Even a simple, handwritten one is legally binding as long as it contains the key details:
Date of the sale
Full names and addresses for both you and the seller
The RV's year, make, model, and VIN
The final sale price
A clear statement that the RV is being sold "as-is"
Signatures of both the buyer and the seller
Make sure both of you get a signed copy to keep. With a clean title in hand and a signed bill of sale, the deal is done. You're officially ready to hit the road.
Your First Steps as a New RV Owner
So, the keys are finally in your hand. Congratulations! While the hardest parts of the buying process are over, your adventure is just getting started. Bringing that new-to-you RV home isn't the finish line—it's the starting block for a whole new way of life.
These first few days and weeks are pretty important. They set the tone for all your future travels, and tackling a few key tasks right away will give you the confidence that your rig is truly ready for its first big trip.
Making It Officially Yours
Before you even think about planning that first getaway, there’s some boring but essential paperwork to sort out. Getting this done immediately will keep you out of legal trouble and make sure your new investment is fully protected.
Title Transfer and Registration: Your first official stop should be the local DMV. You'll need the signed title and bill of sale to officially put the RV in your name and get your new license plates. Every state does things a little differently, so hop on their website first to make sure you have all the right documents and know the fees.
Secure the Right Insurance: Whatever you do, don't just add the RV to your regular auto policy. An RV is both a vehicle and a home, and it needs specialized coverage. Shop around for an RV-specific policy that covers personal belongings, campsite liability, and full replacement cost. This is non-negotiable—you need this in place before you drive it off the lot.
A classic rookie mistake is underinsuring the rig. A standard auto policy often won't cover you if there's a fire, break-in, or accident at a campground. A dedicated RV policy is one of the smartest things you can do on day one.
The Essential "First-Timer" Maintenance Checklist
Even if the previous owner swore they took perfect care of it, you should treat your used RV as a clean slate. Running through some baseline maintenance gives you a new starting point for your own records and, more importantly, total peace of mind.
Here's what I'd prioritize right away:
Change All Fluids: If you bought a motorhome, an oil change is a must. It's also a great time to check the transmission fluid, brake fluid, and coolant. For any type of RV, go ahead and service the generator's oil and filter, too.
Inspect and Test Batteries: Give the house and chassis batteries a good look. Clean up any corrosion on the terminals and make sure they’re holding a full charge. The last thing you want is a dead battery on your first night out.
Sanitize the Fresh Water System: This one is critical for your health. You have no idea what's been sitting in that fresh water tank. Sanitize the entire system—tank and all water lines—with a simple bleach-and-water solution to kill off any lingering bacteria.
Test All Safety Equipment: Your life could literally depend on these. Pop fresh batteries in the smoke and carbon monoxide detectors. Check the expiration date on the fire extinguisher and make sure it’s properly charged. Find the LP gas detector and test it.
Plan Your Shakedown Trip
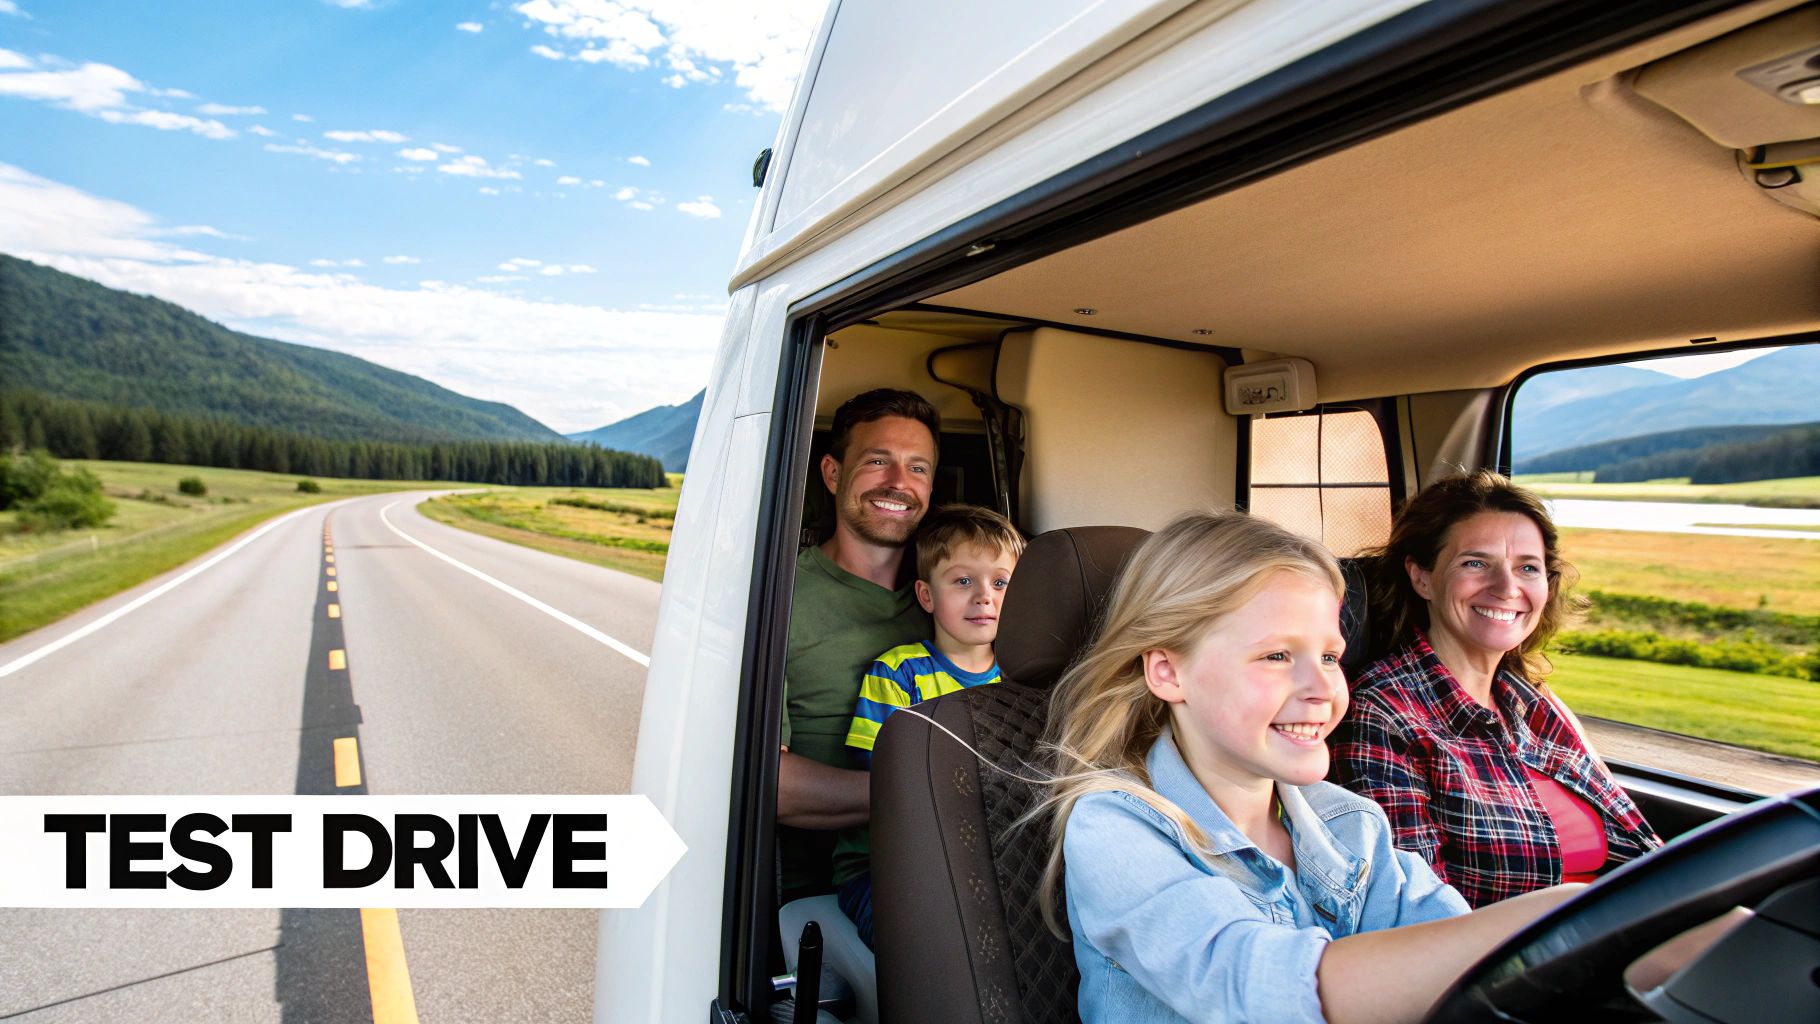
Alright, now for the fun part: the shakedown trip. This is a short, low-stakes trip—maybe just one or two nights at a campground close to home. The goal here isn't to relax; it's to use every single system in a real-world setting.
On this trip, you'll fire up the water heater, run the furnace, work the leveling jacks, and practice connecting your sewer hose. Trust me, it’s much better to discover a leaky hose fitting or a confusing awning when you're 30 minutes from your garage, not 300 miles from civilization. This trial run is the final, practical step in your buying a used RV checklist, officially turning you from a new buyer into a confident owner.
Got Questions? We’ve Got Answers.
Even with the most detailed checklist, a few nagging questions always seem to surface right when you’re getting serious. It's completely normal.
Here are answers to some of the most common questions that pop up during the home stretch of buying a used RV. Getting these right can be the difference between a fantastic deal and a massive headache down the road.
Is a Professional Inspection Really Worth the Money?
Yes. Unquestionably. In fact, it might be the smartest money you spend during the entire process. Whether you're buying an RV or a boat, a professional inspection is your best protection. While our guide gives you a solid framework, a certified NRVIA inspector brings a level of expertise you simply can't replicate. They have the training and specialized tools to spot things an average buyer would easily miss—think subtle delamination, hidden frame rust, or the faint smell of an electrical issue waiting to happen.
An inspection usually runs between $400 and $1,200, depending on the size and type of rig. Now, compare that to the cost of a major repair. A single hidden water leak can spiral into a $5,000+ repair bill in a heartbeat. The inspection fee is a small investment for massive peace of mind, and if it uncovers problems, it gives you incredible leverage to negotiate the price down.
When Is the Best Time of Year to Buy a Used RV?
If you're looking for the best possible deal, shop during the late fall and winter. It’s all about supply and demand. As the camping and boating season wraps up, many owners face the reality of another year of storage fees, insurance, and maintenance costs. They're often far more motivated to sell, which means more inventory and lower prices for you.