Your browser has outdated cached files that are preventing this page from loading.
Click Clear Cache & Reload to fix this, or try a private/incognito window.
|||
Shopping for an RV
How to Winterize an RV A Comprehensive Guide
By Alana Azzouz23 min readNovember 6, 2025Updated January 2, 2026
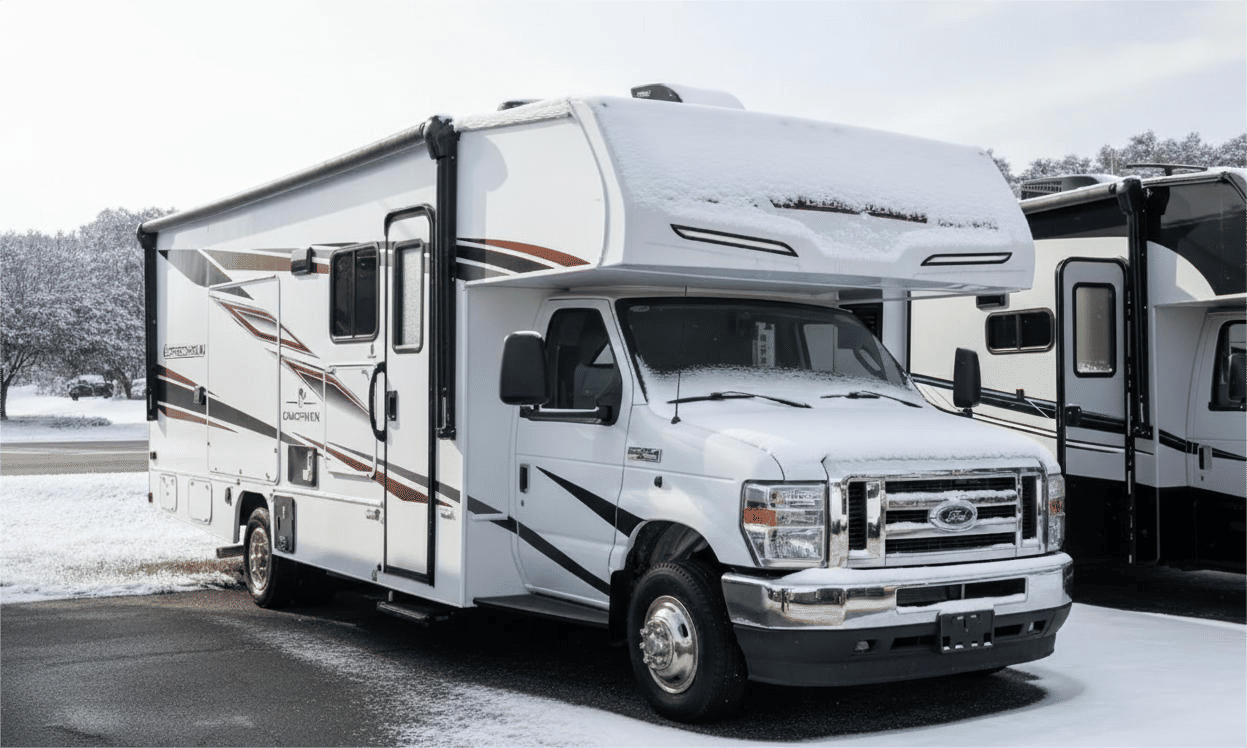
When you learn how to winterize an RV, you're essentially getting every last drop of water out of your tanks and plumbing. The next step is to run non-toxic antifreeze through the whole system. This simple process is your best defense against frozen pipes, a busted water heater, and cracked faucets when the temperature plummets. It’s the most critical task you'll do before putting your rig away for the season.
Why Winterizing Your RV Is a Critical Investment
Before we jump into the "how-to," let's talk about the "why." Frankly, skipping this job isn't a gamble—it's a near guarantee of a huge, expensive headache come springtime. Think of it as the most important preventative maintenance you can do for your home-on-wheels.
It all comes down to basic physics. When water freezes, it expands by about 9%. That might not sound like much, but inside the tight confines of your RV’s plumbing—the PEX lines, plastic fittings, and delicate valves—that expansion creates incredible force. The result is often devastating damage you won't even see until everything thaws out.
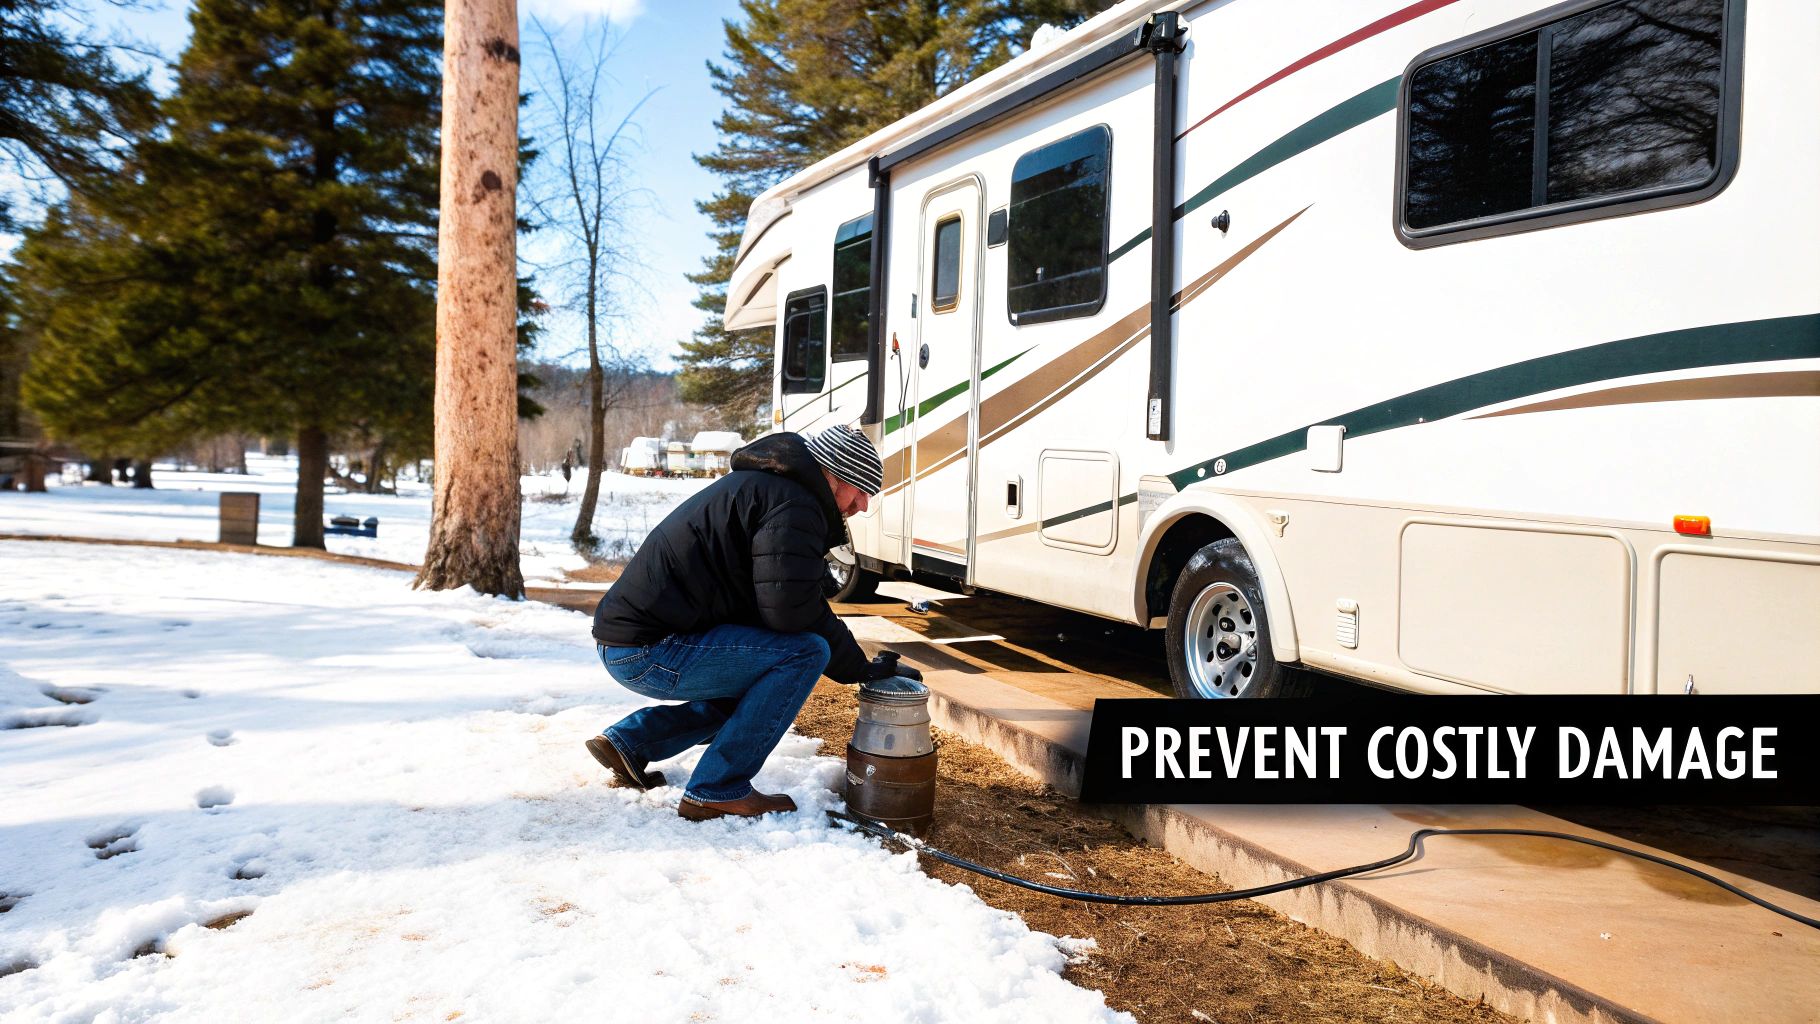
The Real Cost of Neglect
Putting off or skipping winterization can set off a chain reaction of problems. A single hard freeze is all it takes to do serious harm, and the fixes are never cheap or easy.
Here’s what you’re up against with freeze-related damage:
Cracked Water Lines: You could be looking at anything from tiny hairline fractures to full-on bursts in the pipes snaking through your walls and floors.
Damaged Water Pump: The delicate internal parts of your pump are no match for expanding ice.
Ruined Water Heater: A frozen tank can split wide open, turning a several-hundred-dollar appliance into scrap metal.
Broken Faucets and Toilet Valves: Those plastic fixtures are especially brittle in the cold and crack easily.
These aren't just minor annoyances. We're talking about a significant financial hit. In the U.S., a serious freeze damage repair bill can easily top $3,000. Now, compare that to the cost of doing it yourself, which is usually under $100 for some antifreeze and a few supplies. The math speaks for itself. You can find more details on RV plumbing protection to see just how a small investment can save you thousands.
The goal of winterization isn't just about avoiding damage. It's about protecting the integrity and value of your RV. A well-maintained rig will always hold its resale value better than one with a history of major repairs.
Ultimately, taking a couple of hours to winterize your RV is a direct investment in your future travels. It means that when the weather warms up, you can get right back on the road instead of starting your season in a repair shop.
Getting Your Winterization Kit Together
The secret to a painless winterization day? It's not some magic trick—it’s taking 30 minutes to get all your gear ready before you start. Trust me, nothing turns a simple job into a frustrating ordeal faster than having to stop everything for a last-minute run to the hardware store.
Think of it like getting all your ingredients prepped before you start cooking. When everything is within arm's reach, you can just flow from one step to the next without breaking your concentration. Most of this stuff is cheap, reusable, and a smart one-time buy for any serious RVer.
The Must-Haves for Your Plumbing
First things first, let's talk about the items that will directly protect your pipes from a deep freeze. You simply can't winterize your rig without these.
Non-Toxic RV Antifreeze: This is the big one. Make sure you grab the pink, non-toxic antifreeze made specifically for RV and marine use. Whatever you do, never use the green or orange automotive antifreeze. It's incredibly poisonous and will ruin your freshwater system for good.
Water Heater Bypass Kit: Your RV might already have one, but if it doesn't, installing one is a top priority. A bypass kit stops you from dumping 6 to 10 gallons of perfectly good antifreeze into your water heater tank, which doesn't need to be winterized with antifreeze anyway.
Blowout Plug: This isn't strictly necessary for everyone, but I highly recommend it if you're using compressed air to clear your lines. It’s a simple little brass adapter that screws into your city water connection and lets you hook up an air compressor.
Water Pump Converter Kit: Another game-changer. This kit is usually just a short hose and a valve that lets your pump pull antifreeze straight from the jug. Many newer RVs have this feature built-in, but it's a simple, worthwhile upgrade for older models.
Pro Tip: Figure out how much antifreeze you'll need. A small travel trailer might get by with two gallons, but a big Class A motorhome, especially one with a washing machine, could easily take four or five. I always buy one extra gallon—it's cheap insurance against running out halfway through the job.
Basic Tools You'll Need on Hand
Beyond the plumbing-specific gear, you’ll want a few standard hand tools. Chances are, you already have these in your RV toolkit. Keeping these on hand is just part of good RV ownership, much like what we cover in our complete RV maintenance checklist to avoid common pitfalls.
Here's what I make sure to have:
Adjustable Wrenches or a Socket Set: You'll absolutely need one of these to pull the drain plug or anode rod on your water heater. Anode rods often require a 1-1/16" socket, so double-check what size your model takes.
Pliers: A trusty set of pliers always comes in handy for things like loosening stubborn hose clamps or disconnecting battery terminals.
Screwdrivers: You'll probably need both a Phillips and a flat-head to remove access panels, like the ones that hide your water pump or the back of your water heater.
Towels and a Bucket: Let's be honest, spills are going to happen. Have a few old towels ready to catch drips of water or antifreeze. A bucket is also perfect for catching the initial gush of water when you drain the system.
Flashlight or Headlamp: RV plumbing loves to hide in dark, cramped corners. A good light source is critical for actually seeing what you're doing down there, especially when looking for low-point drains and bypass valves.
Once you’ve got all this laid out, you're ready to get to work. Being prepared means you can tackle the job with confidence and get your RV safely tucked away for its long winter nap.
Draining and Flushing Your RV Water System
This is where the real work of winterizing your RV begins. Getting every single drop of water out of your plumbing is the most important step in preventing freeze damage. I can't tell you how many times I've heard stories of a tiny bit of water left in a tight corner expanding and cracking a fitting, leading to a frustrating and expensive repair in the spring.
We're going to walk through this methodically to make sure nothing gets missed. The core idea is simple: empty everything. We’ll start with the large holding tanks and work our way through every pipe, fixture, and appliance that uses water. Think of it like a detective mission, searching for every last place water could be hiding.
Starting with the Holding Tanks
Your first move is to empty the big reservoirs. The process itself is pretty straightforward, but the order you do it in is key to keeping your sewer hose relatively clean.
First, always drain the black water tank. Hook up your sewer hose at a designated dump station and pull the valve for your toilet waste. Draining this first allows the gray water to flush out any lingering solids from the hose afterward.
Once it's empty, give that black tank a good cleaning. If you have a built-in black tank flush system, let it run for several minutes to dislodge any stubborn debris. If not, a tank-cleaning wand attached to a hose works wonders. A clean tank is much less likely to cause odor issues over the winter.
Next, drain the gray water tank (from your sinks and shower). This soapy water will rinse out your sewer hose, which is exactly why this step always comes after the black tank.
Beyond just the fresh water system, proper RV sewer and drain maintenance is crucial to prevent winter damage to your black and gray tanks. Once both are empty and rinsed, close those termination valves securely.
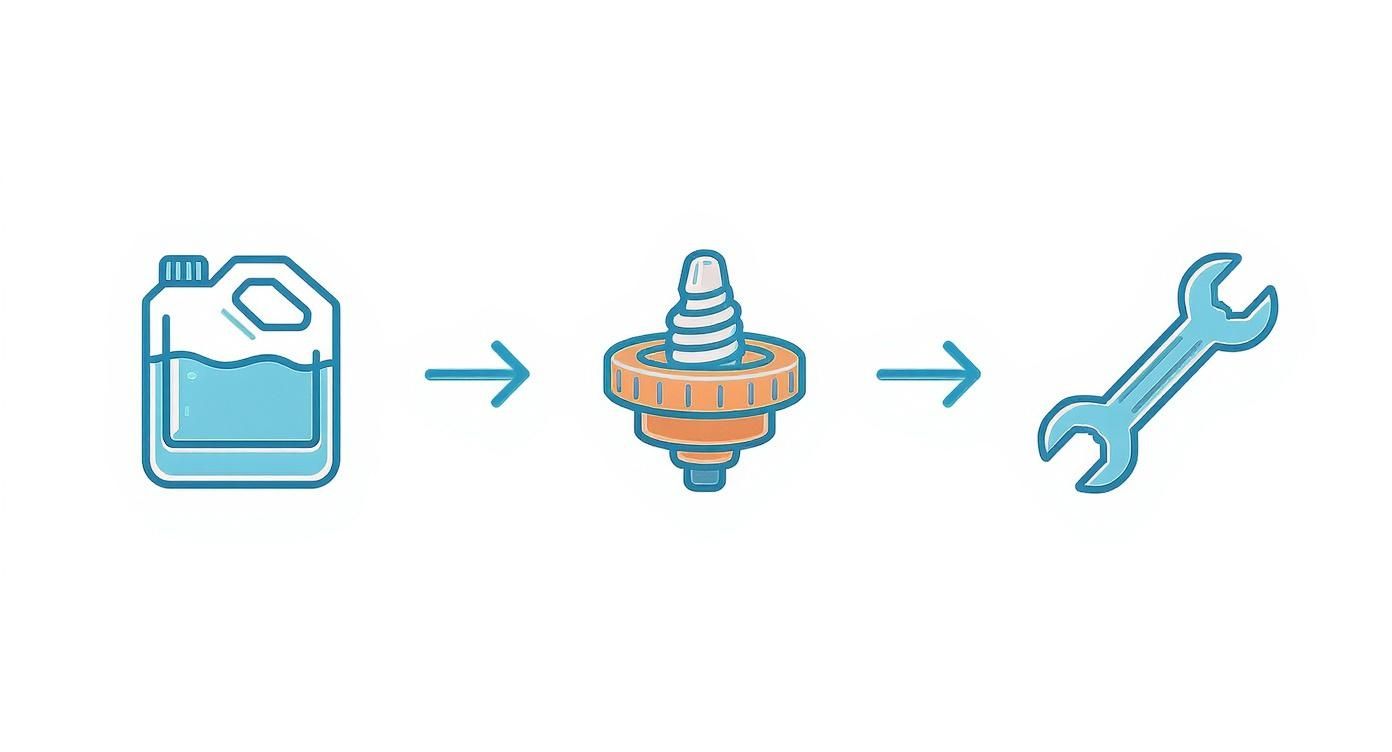
The right tools make this whole process much easier. You'll want some non-toxic antifreeze, a blowout plug, and a few basic hand tools on standby.
This visual guide breaks down the essential components, making it easy to see how each part plays a role in protecting your RV's plumbing.
Tackling the Fresh Water Tank and Low Point Drains
With the wastewater tanks handled, it's time to get the clean water out. This involves your main fresh water tank and all the supply lines running throughout your rig.
Find the drain valve for your fresh water tank—it's usually a small petcock valve near the tank itself. Open it up and let it drain completely. Since this is just potable water, you can let it drain right onto the ground if you're parked in an appropriate spot.
Next, you need to find your low-point drains. These are almost always a pair of pipes, one red (hot) and one blue (cold), hanging down from the underbelly of your RV. They are, as the name implies, the lowest points in your plumbing system and are there specifically for this purpose.
Opening the low-point drains is the single most effective way to empty the majority of water from your supply lines. To help it flow out faster, open a faucet inside your RV, like the kitchen sink. This breaks the vacuum and lets air into the system, pushing the water out.
The All-Important Water Heater Bypass
Your water heater is a major point of vulnerability. Forgetting to drain it can easily lead to a cracked tank—a catastrophic and costly failure. The goal here is to drain the tank completely and then bypass it so you don't waste gallons of antifreeze filling it back up later.
First, make absolutely sure the water heater is turned off and has had plenty of time to cool. You never, ever want to drain a hot or pressurized tank.
Locate the Bypass Valves: You'll need to access the back of your water heater, usually from inside the RV through a cabinet or panel. You’ll find a series of valves (a one, two, or three-valve system is common). Your goal is to turn them so that water can no longer enter the tank and instead loops directly from the cold line to the hot line.
Remove the Anode Rod or Drain Plug: Head outside to the water heater’s access panel. Using a socket wrench—it's often a 1-1/16" socket—carefully loosen and remove the anode rod or plastic drain plug. A gush of water will come out, so be ready for it.
Open the Pressure Relief Valve: At the top of the tank, flip open the pressure relief valve. This lets air in and helps the tank drain much faster and more completely.
Once empty, you can use a tank-cleaning wand to flush out any sediment before putting the anode rod or plug back in. With the tank drained and the system bypassed, your most expensive water appliance is now safe for the winter. For a deeper look at your system, our guide on plumbing for RV essential maintenance tips has some great information.
Clearing the Final Water Hideouts
You're almost there, but water can hide in a few sneaky spots.
Faucets and Showers: Go through and open every single faucet—kitchen, bathroom, and don't forget the outdoor shower.
The Toilet: Hold the flush pedal down until water stops flowing to clear out the valve.
Water-Using Appliances: If your rig has an ice maker or a washing machine, you'll need to check the owner's manual. They have their own specific winterizing instructions that you need to follow.
By now, your RV’s entire water system should be empty and depressurized. You've created a clean slate for the final, and most critical, protection step: adding the antifreeze.
Protecting Your Pipes With Antifreeze or Air
With your water system completely drained, you've won half the battle. Now it’s time for the final push: proactively protecting your plumbing from any stray drops of water that could freeze, expand, and cause a real disaster. This is where you have a big decision to make, and it pretty much shapes the rest of your winterizing day.
You have two main ways to go about this, and you'll find die-hard fans of each in the RV community. You can either pump non-toxic RV antifreeze through the entire system or use compressed air to blast every last bit of moisture out. There's no single "right" answer here; the best choice really depends on your rig, the tools you have on hand, and your personal comfort level with the process.
The Antifreeze Method: A Time-Tested Approach
Using that distinct pink RV antifreeze is arguably the most common and foolproof way to winterize your rig. The idea is simple: you’re replacing any water left in the lines with a fluid that has a much lower freezing point, preventing it from expanding and cracking your pipes. It's a method that brings a lot of peace of mind, especially since you can see the pink fluid coming out of each faucet, confirming the system is protected.
To get started, you’ll need to set up your water pump to pull antifreeze straight from the jug. Many newer RVs come with a built-in winterization valve and a handy siphon hose just for this purpose. If your rig doesn't have one, a simple water pump converter kit is an easy and inexpensive upgrade that honestly saves a ton of hassle.
Once your pump is ready, stick the siphon hose directly into a gallon of non-toxic RV antifreeze. Flip on your water pump, and it'll start pressurizing the system with the pink stuff instead of water.
Now, you'll just work your way through the RV, hitting one fixture at a time.
Start with the faucet furthest away. This is usually the kitchen sink or maybe the bathroom shower, depending on your layout.
Open the cold water tap first. Let it run until you see a solid, steady stream of pink antifreeze. Once you do, shut it off.
Now, do the hot water tap. Repeat the process, letting it run until it flows pink, and then close it.
Work your way through the RV. Systematically do this for every single faucet—bathroom sink, indoor and outdoor showers, and any other water outlets. And don't forget the toilet! Hold the flush pedal down until you see antifreeze appear in the bowl.
The beauty of this method is the certainty it provides. When you see that pink fluid at every single tap, you know with 100% confidence that your lines are protected. It takes the guesswork out of the equation and is what I usually recommend for first-timers learning how to winterize an RV.
The Compressed Air Method: A Chemical-Free Alternative
For those of you who'd rather not introduce any chemicals into your plumbing, the compressed air method is an excellent alternative. Instead of pushing water out with antifreeze, you use a high volume of low-pressure air to physically blow all the water out of the lines. This approach can be a bit quicker and has the added bonus of not having to flush antifreeze out of the system come springtime.
The key to doing this right is using the right gear and, most importantly, the right amount of pressure. You'll need an air compressor and a blowout plug—it's a simple brass fitting that screws right into your RV's city water inlet.
This next part is crucial: you must regulate the air pressure to a safe level. Never, ever exceed 40-50 PSI. Any higher, and you run a serious risk of blowing out your PEX plumbing lines and plastic fittings, which creates the very expensive problem you’re trying to prevent.
Once your compressor is set to a low, safe pressure and connected to the city water inlet with the blowout plug, you can get started. The process feels a lot like the antifreeze method—you'll just go from one fixture to the next.
Open the faucets one at a time, again starting with the one furthest from the inlet. You'll hear air hissing out, followed by sputters and spits of water. Just leave each tap open until it's only blowing air, then close it and move on. Cycle through all the hot and cold taps, the toilet, and both showers until the entire system just blows dry air.
Even after you've blown out the lines, it’s still a smart move to pour a cup of antifreeze down each P-trap in the sinks and shower. This prevents any water in the traps from freezing and cracking the drain pipes.
Comparing Winterization Methods: Antifreeze vs. Compressed Air
Choosing between these two trusted techniques really comes down to a few key differences. Neither is flat-out better than the other, but one will likely be a better fit for your situation, your budget, and the tools you already own. This table breaks it down.
Factor
Antifreeze Method
Compressed Air Method
Effectiveness
Highly effective and gives you a clear visual confirmation that the job is done.
Very effective, but only when done correctly at the proper pressure. Less room for error.
Cost
You'll need to buy 2-5 gallons of RV antifreeze each year.
Requires an air compressor and a one-time purchase of a blowout plug.
Effort
Involves pumping fluid through the system and requires a thorough flush in the spring.
Can be faster, with no flushing needed in the spring. Just de-winterize and go.
Risk
Low risk, but forgetting to bypass the water heater can waste a lot of antifreeze.
Higher risk if you use too much pressure; you could damage your plumbing lines.
Ultimately, both methods will get the job done and protect your RV from the ravages of winter. Your decision really just hinges on whether you prefer the absolute, see-it-with-your-own-eyes certainty of antifreeze or the chemical-free convenience of compressed air.
Preparing Your RV for Long Term Winter Storage
You’ve handled the plumbing, which is a huge milestone, but don't close the door just yet. The job isn’t finished until you’ve prepped the entire rig for its long winter nap. Think of these final steps as your best defense against the silent threats of storage: pests, moisture, mildew, and component failure.
This is your final lockdown procedure. It’s what ensures you’re greeted by a fresh, clean RV in the spring, not a mess of mouse droppings, musty odors, or a dead battery. Skipping these last few tasks can lead to some seriously unpleasant—and expensive—surprises come camping season.
Believe it or not, some surveys show that up to 40% of RV breakdowns in the spring are directly tied to improper winterization. Plumbing and batteries are usually the main culprits. With many RVs staying on the road for 20 years or more, consistent winter prep has proven to be a key strategy for keeping them in great shape.
Securing the Interior Against Pests and Moisture
To a mouse or spider seeking shelter from the cold, your RV's interior looks like a five-star resort. The first rule of winter storage is to make your rig as uninviting as possible, and that starts with a deep clean.
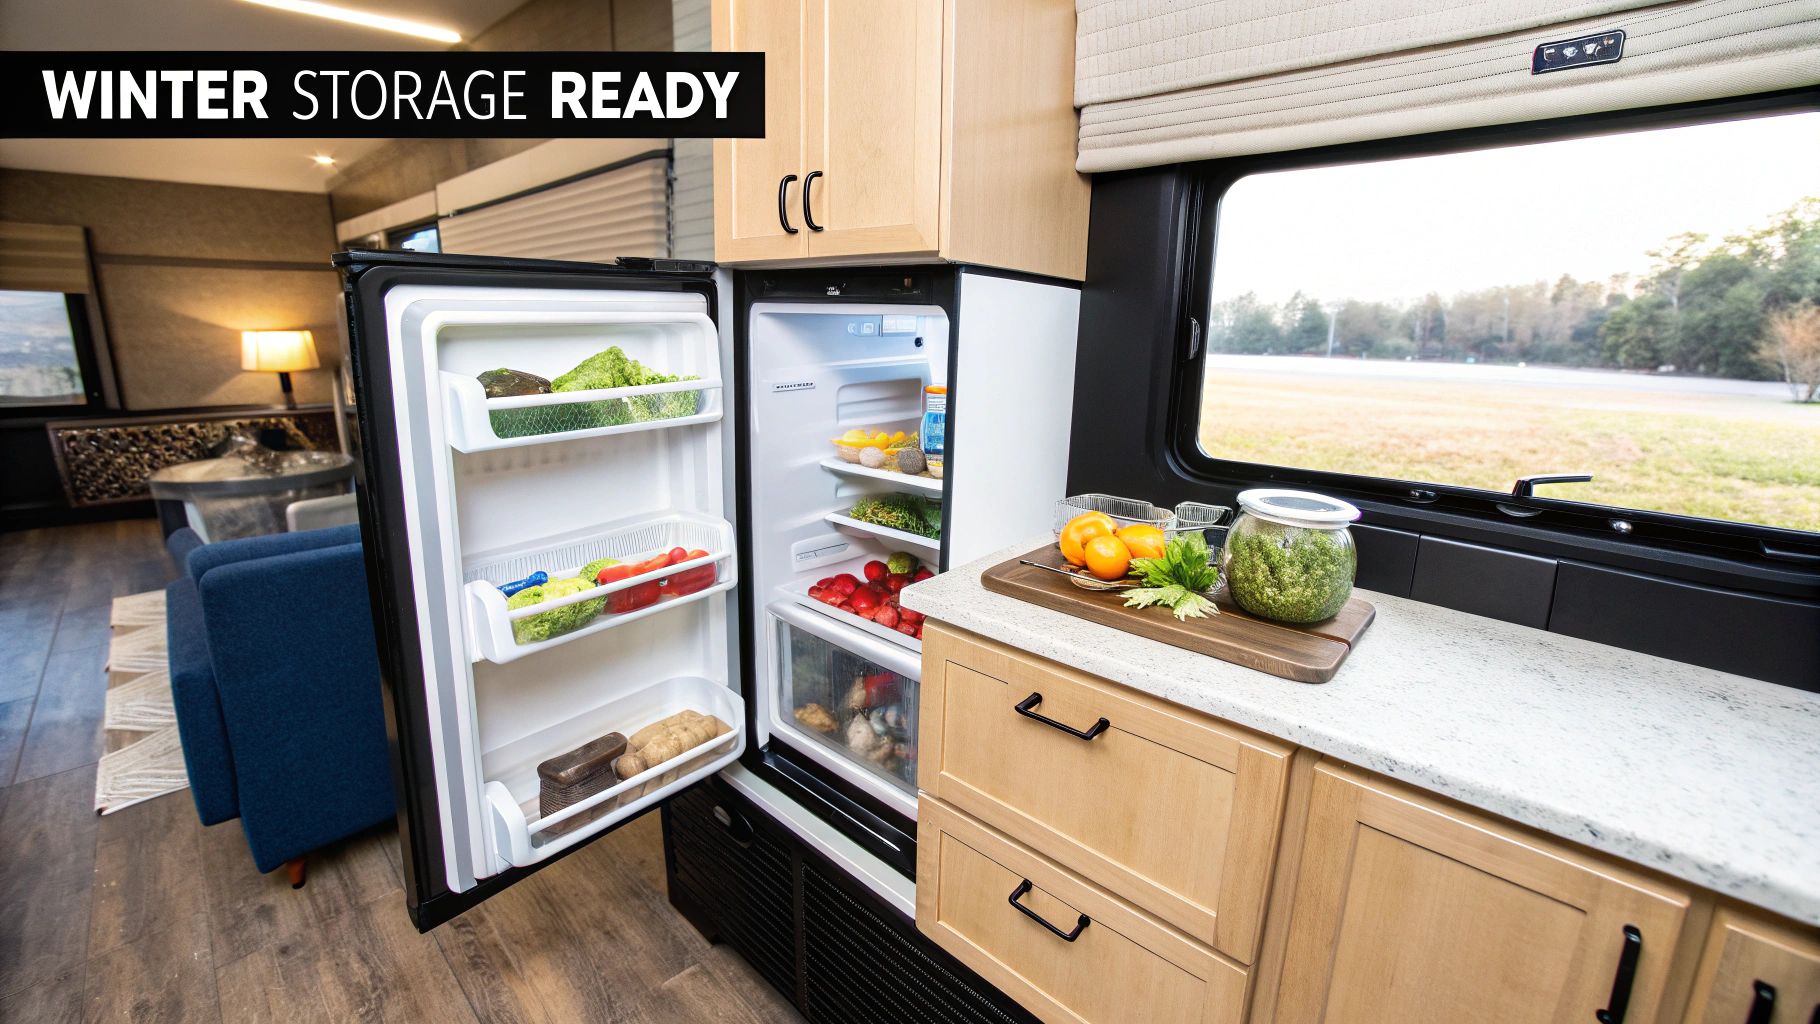
First things first: remove every single food item. I mean everything—canned goods, spices, that box of crackers in the back of the pantry. Mice are persistent and will chew through plastic, cardboard, and even thin foil to get a meal. Once the food is out, vacuum every nook and cranny to get rid of any crumbs.
Moisture is your next enemy. An enclosed, unventilated space is the perfect breeding ground for mold and mildew. Before you lock up, it's crucial to protect the interior; learning how to prevent carpet mold is a great starting point, as it's a common problem in stored vehicles.
Deploy Moisture Absorbers: I always place a few moisture-absorbing buckets (like DampRid) inside—one in the main living area, one in the bathroom, and one in the bedroom.
Prop Open Doors: Leave all interior cabinet doors, cupboards, and even the refrigerator and freezer doors propped open. This simple trick does wonders for air circulation.
Seal Entry Points: Get down and inspect the underbelly and firewall for any gaps where pests could sneak in. I use a combination of steel wool (rodents hate it) and expanding spray foam to seal them up tight.
Protecting Exterior Components and Systems
Your work isn't done until the outside of the RV is just as ready as the inside. The elements can take a toll on tires, batteries, and your roof, even when your rig is in storage.
Tires and Suspension
Letting your RV sit in one spot for months is a recipe for flat spots on the tires and puts a ton of unnecessary strain on the suspension.
Inflate to Maximum PSI: Before you park it, inflate the tires to the maximum cold pressure written on the sidewall. This helps the tire hold its shape over the long term.
Clean and Cover: Give the tires and wheels a good wash to get rid of road grime and brake dust. Then, throw on some UV-blocking tire covers to prevent sun damage, which leads to premature cracking.
Consider Leveling Jacks: If you have them, use your leveling jacks to take some of the weight off the tires. Just don't lift them completely off the ground.
Battery Health
A battery left connected in a cold RV will slowly drain all winter. A completely dead battery can easily freeze, causing permanent damage. You've got a couple of options here.
The easiest route is to use the battery disconnect switch if your RV has one. If not, just physically disconnect the negative battery cable. For the best long-term battery health, though, I always recommend removing the battery entirely. Store it in a cool, dry place like a garage and hook it up to a battery tender to keep it maintained.
Final Exterior Checks
Before you officially call it a day, do one last walk-around. Double-check that all windows and vents are securely closed. Make sure your propane tanks are turned off at the valve. It’s also a good idea to give the roof a quick look-over for any potential issues; our guide on pro RV roof maintenance can help you avoid costly repairs.
And if you’re storing your RV outside, a high-quality, breathable cover is a fantastic investment. It'll protect the finish from sun, snow, and whatever else winter throws at it.
Answering Your Top RV Winterization Questions
Even after you've winterized an RV a dozen times, questions can still pop up. Let's walk through some of the most common things people ask, so you can finish the job without any lingering doubts.
Can I Use Automotive Antifreeze in My RV?
This is a hard no. It’s probably the most important thing to remember: only use non-toxic RV/Marine antifreeze. You'll recognize it by its distinct pink color.
Automotive antifreeze, the green or orange stuff you put in your car, is incredibly toxic. If it gets into your fresh water system, it will contaminate everything. You absolutely cannot risk using that water for drinking, cooking, or even washing up. Always double-check the label to be sure it's rated for potable water systems.
Is Winterizing Necessary in a Milder Climate?
I get this question a lot from folks in the south. The short answer is yes, you should. Even if your winters are generally mild, all it takes is one surprise cold snap to do some serious, expensive damage.
If the forecast ever calls for temperatures to drop near 32°F (0°C), you should at least drain your system completely. It’s a simple precaution that can save you from a major repair bill down the road.
I’ve heard too many horror stories from owners who thought they were safe in a warmer state. A single, unpredicted freeze is all it takes to burst a pipe, turning a task they skipped into a multi-thousand-dollar nightmare.
What if I Forgot to Bypass My Water Heater?
It happens! If you accidentally pumped antifreeze into your water heater, the first thing to do is drain it completely. The good news is it won't permanently damage the tank, but it creates a couple of new problems for you.
First, you just wasted 6-10 gallons of antifreeze. Second, you're in for a serious flushing session come springtime. It can be incredibly difficult to get all the residue out, often leaving your hot water foamy or with a strange taste for a while.
Ready to find the perfect rig for your next adventure? At Searchshop, we simplify the RV buying process with expert reviews, detailed listings, and tools to match you with your ideal travel trailer or motorhome. Start your journey today and explore our extensive inventory at https://www.searchshop.com/rv.